Shopping Cart

Your cart is currently empty.

How to Measure Your Roof’s Pitch

Finding your roof’s pitch is an important factor to know when you are ordering and planning your Exhaust kits to go with your Standard Tools and Equipment Paint Booth. Here’s how you can find your roof pitch.

Things you’ll need:
• Ladder • Level • Tape Measure • Marker • Pencil • Paper

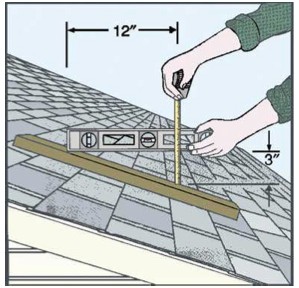
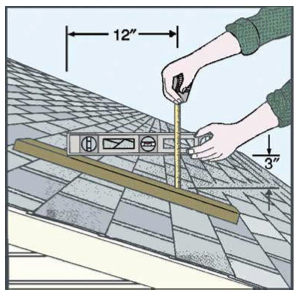
1. Measure 12-inches on the level & mark.

Mark the length with the marker. Many levels are equipped with a ruler on the side, but marking it will allow it to be more visible.

2. Climb up to the top of your roof.roof pitch

· Make sure the roof is not wet or icy. It is best to walk on a roof when the sun is out and morning dew has evaporated.
· Make sure the ladder does not damage the gutter or side of the roof.
· Ascend the roof. Crouch down or sit, as to minimize the potential for slipping. · You  can measure pitch from any spot.
· Pull out your tape measure about 1 foot or so.

3. Use your level to measure the roof run.

· While holding the tape measure with one hand, pick up the level with the other and place the bottom corner on the roof.
· Using the level’s corner as your pivot point, hold it parallel with the ground.
· Pivot it up or down until the horizontal vial’s bubble is between the two lines.

4. Measure the rise with the tape measure.

· Hold the level parallel to the ground and measure the distance from the roof’s surface to the level’s 12- inch mark.
· Make sure you rotate the tape so it is perpendicular to the level. Write down the rise.

5. Calculate the roof’s slope. 

The number you measured with the tape is the roof’s rise or pitch — the amount the roof’s height rises over 12 horizontal inches. For example, if you measured 3 inches, the roof’s ratio will be a 3:12 pitch. (See illustration).

You Want to Ship a Paint Booth Where? International Paint Booth Shipping.

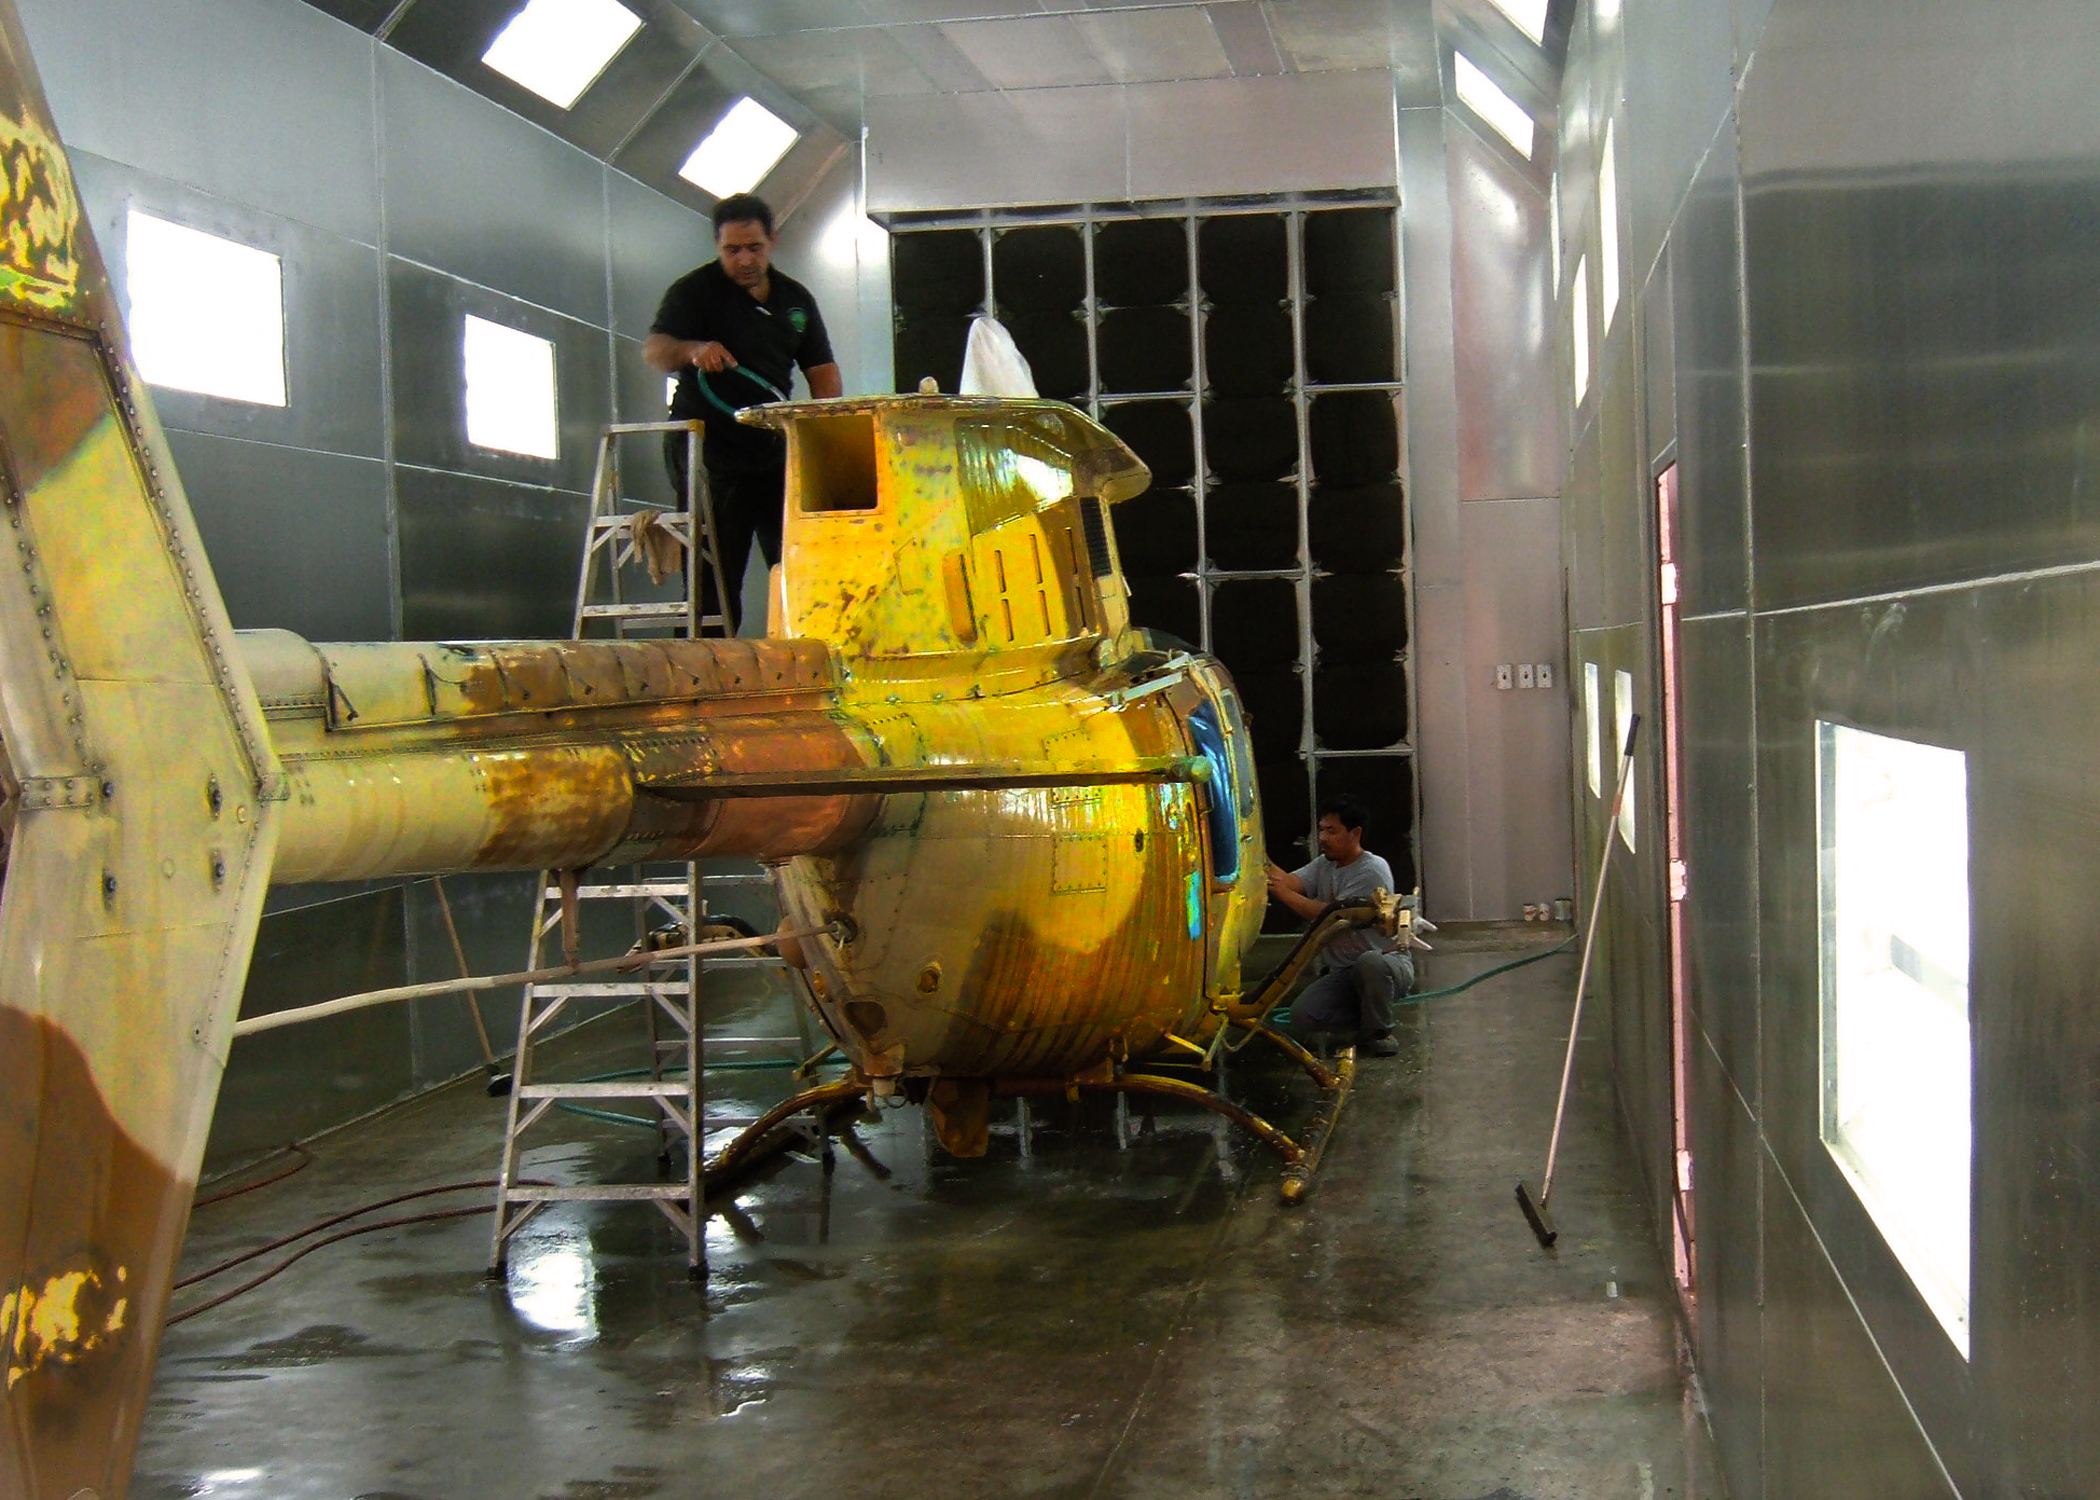
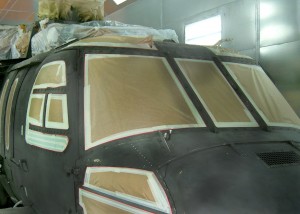
Desert Camo in Process

Did you know that there is a Standard Tools and Equipment paint booth on a number of continents around the world? That’s right! We ship internationally all of our paint booth systems. To US military bases and businesses to the North, South and overseas through freight forwarding services. Our ability to customize booths, manufacture quality booths in a quick turnaround gets us a lot of attention, from all over. Fortunately for our customers, we make it easy to order from us, no matter where they live.

* We help with documents needed to get through customs.
* We handle all the paper work for your broker.

We sell a lot of booths into Canada. On all paint booth orders for Canada, we prepare the commercial invoice and NAFTA certificate the day the order goes into production.

We then email you the documents and request your broker’s information, if not already provided. Courier companies use customs’ brokers for packages processed through Canada customs at the Canadian border. Fees for that service will be passed along to you.

Using a broker will help your package get through customs quickly and easily. To find a broker, we recommend asking a neighbor or friend who may have ordered products from the U.S. for a recommendation. A lot of our customers use Livingston International Inc. You can contact them at 1-800-837-1063.

We prepare a sheet with your broker info and include it with the paperwork that goes to the truck driver at pick up.  Your broker and the trucking company will handle things from there. The freight quoted is for delivery to your location, but you are responsible for getting the booth unloaded. You are responsible for any fees and taxes incurred.

Don’t let location be a hindrance to getting a great deal on one of our paint booths!

Install Your Own Paint Booth & Save Thousands

There is a huge distinction between being “Handy” and being a “Do-It-Yourself-er”. I am not necessarily “handy”, which is great because the handy friend always gets asked to help build a garage for your neighbor or a brick patio for your mother. Nope, I’m not a “Handy” person, but I am a practical DIY’er. I figure; if I can learn how to do something correctly, why pay someone else to do it for me?

Having a professional installer might seem like the ideal situation. After all, some bigger jobs are a bit scary at the beginning. But, Installers are expensive… and if you’re like me, why pay someone else between $4,000 and $8,000 (depending on type of booth and if it’s heated) to do something that you can do for FREE? That could be more than 1/2 the cost of the booth!

“Did you say I could do it for free?”  That’s right! You can save all that money and do it yourself! Don’t worry — We have specifically designed our booths to be easy to install for the average person and a friend that is willing to help. Don’t worry about all the electrical components, we recommend that you hire a licensed electrician to come wire and connect your power source once your booth is in place.
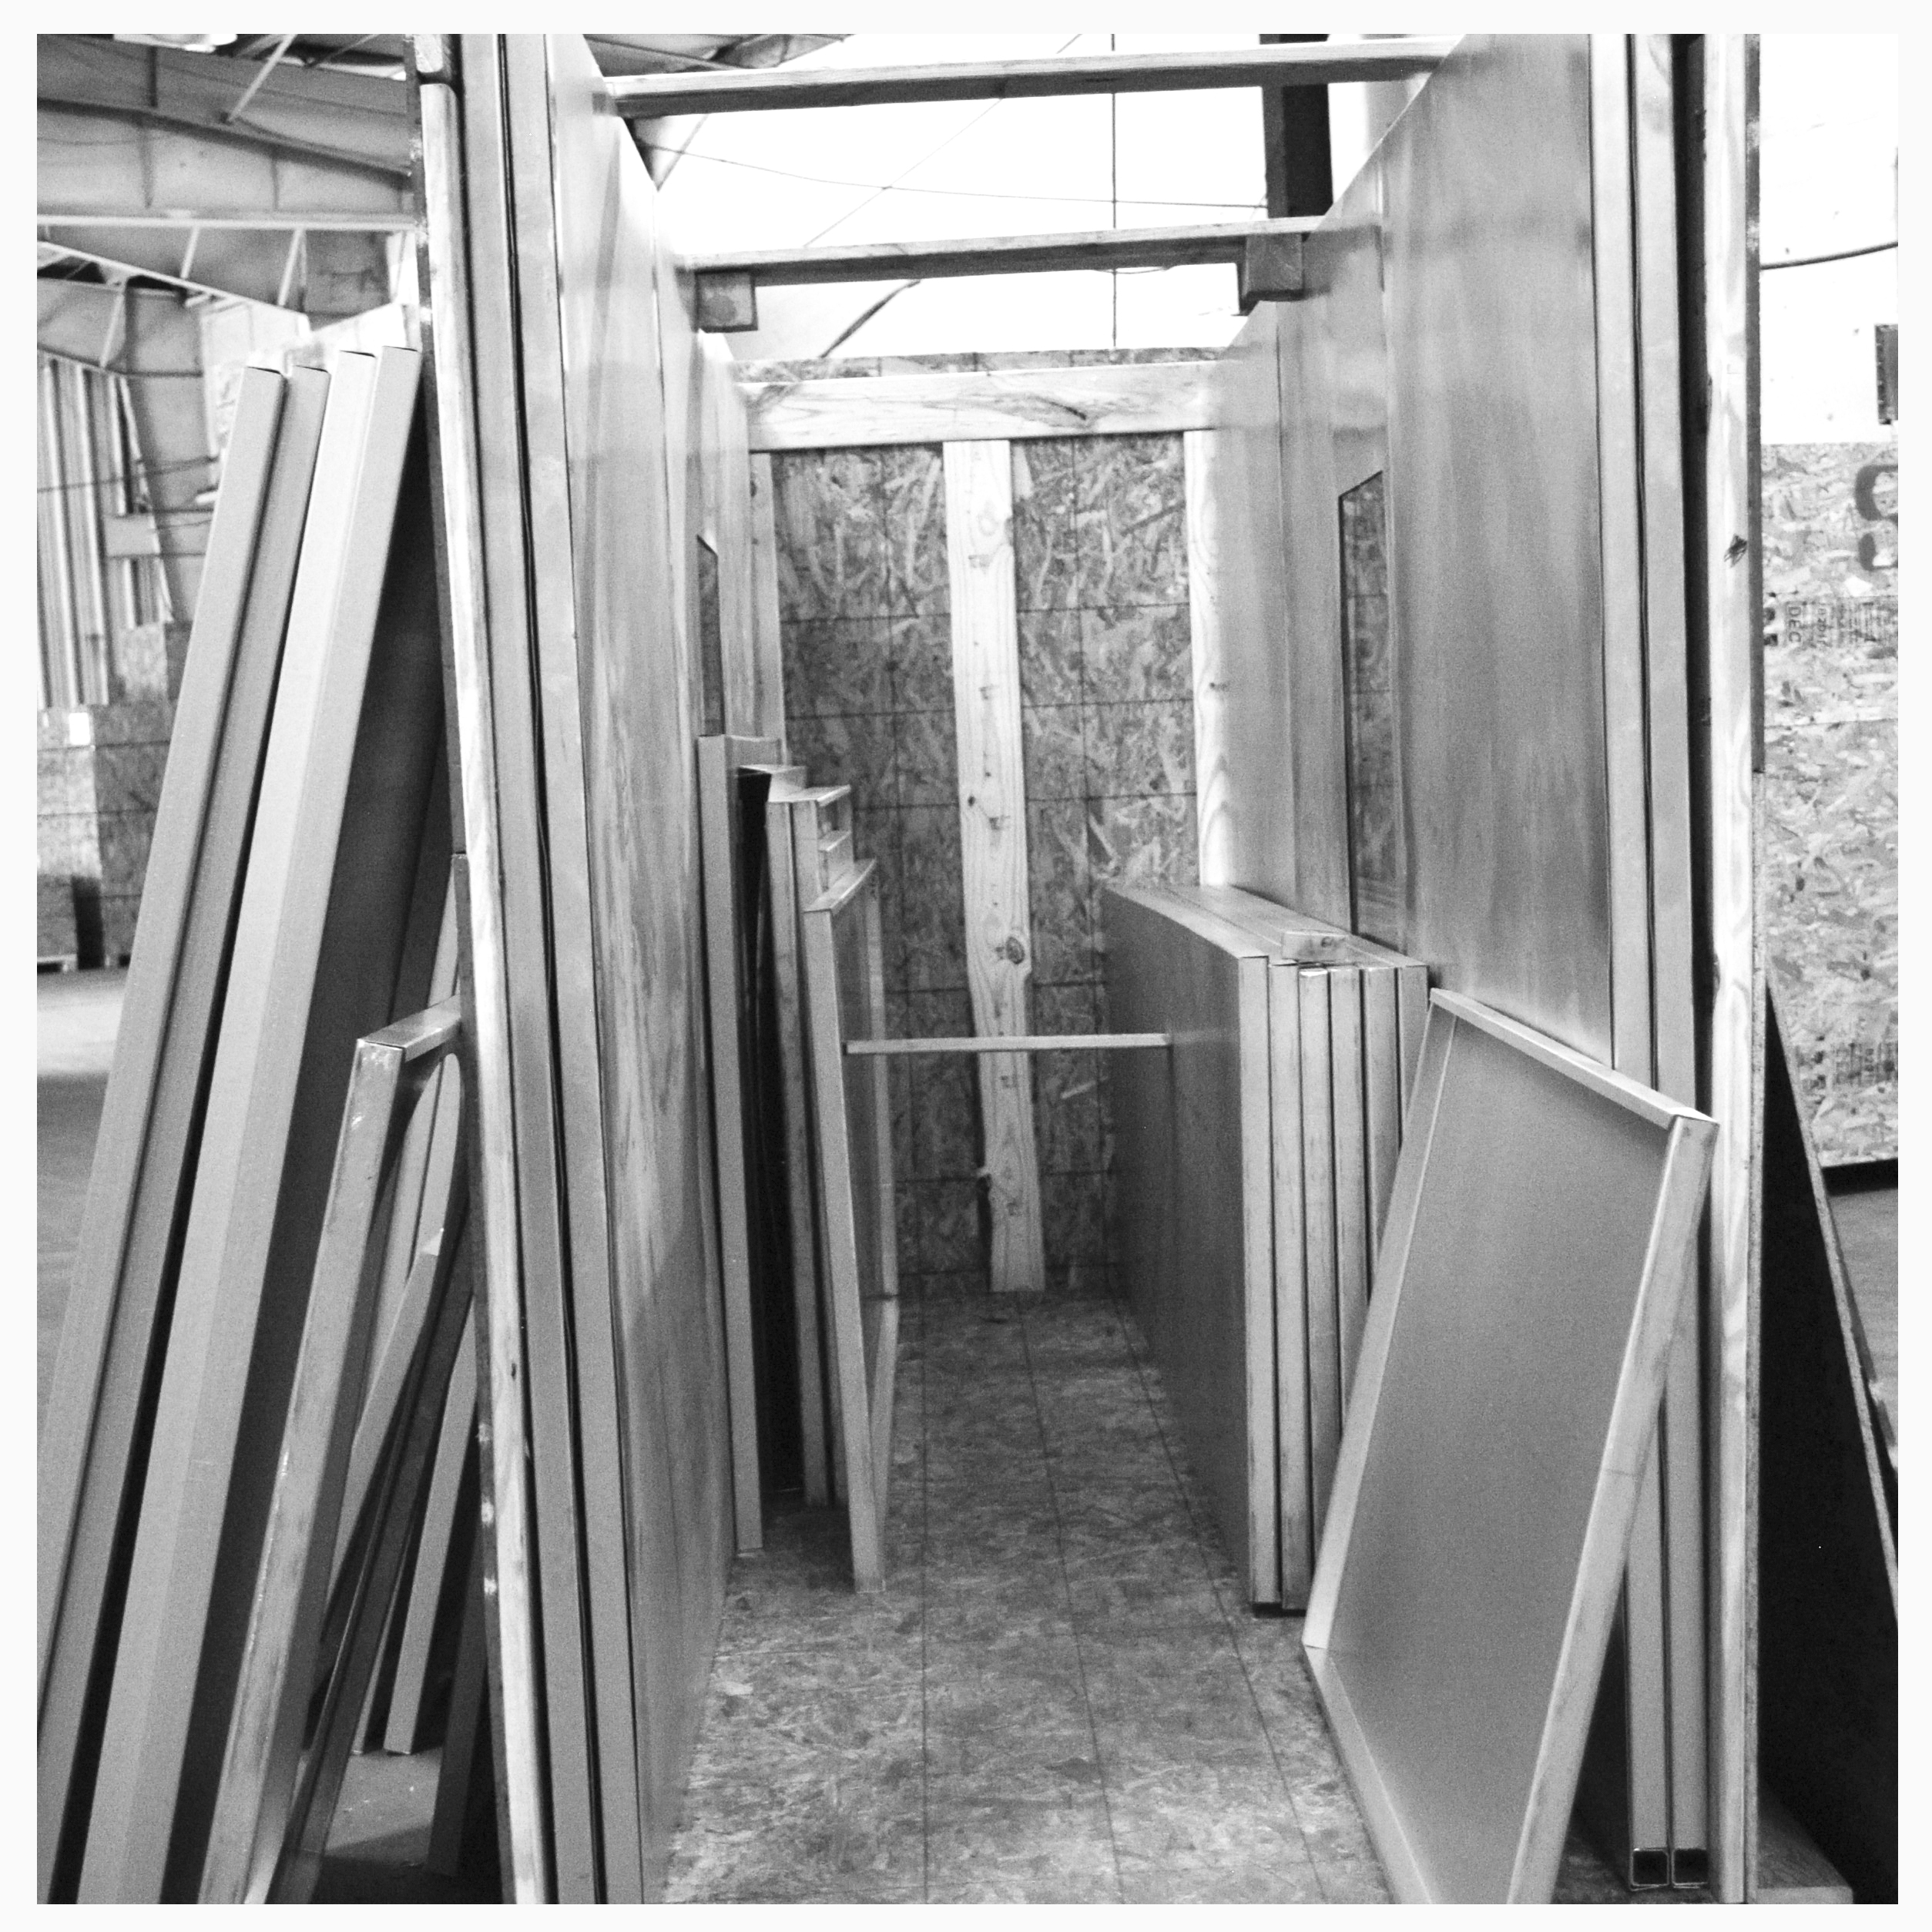
DSC_0039bwHow do we design these booths to be easy to install?

First – We pack your booth with almost everything you will need to install it with the exception of your light bulbs (those tend to break in the shipping) and your electrical wiring (local codes vary) … You won’t get halfway through putting it together to find your missing a part to finish the job.

Second – We give you really exceptional directions on how to set it up and labeled panels, including a 1-800 to call with any questions or issues you run into. Our paint booth expert installer, John, is excellent at walking you through it.

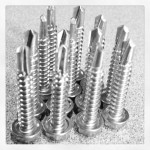
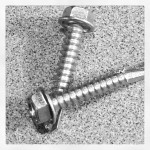
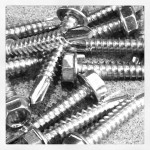
Third- We send you the best materials to help you put it together fast, and correctly. Not every paint booth out there is easy to install….. What sets us apart from the competition is our progressive use of the TEK screw to fasten your booth together.  Now, you wouldn’t think a screw would make all that much of a difference but picture this: You’re on a ladder, reaching across two paint booth panels. While trying hard to keep your balance, you have to line up the holes on these two large pieces of metal, keep together your nut and bolt and then use a wrench to tighten it all together. Not so easy.

Now, imagine this: You’re on that same ladder; a drill in one hand and the other hand is on the joint… holding the screw. You slowly put the drill on the screw, hit the button… the screw zips in, securing the panels and your done. Easy, right?


Why do we use these TEK screws instead of nut and bolt assembly?

Lining up holes and assembling nuts, washers and bolts can be frustrating when dealing with large panels of metal and ladders. The TEK Screw is not always understood, sometimes because it seems just too easy. Cut the number of steps necessary to complete your installation by using screws that are self-drilling (meaning they drill their own hole) and then tap threads to combine the two pieces of metal.

All of our paint booths use TEK screw technology because they were specifically designed for use in sheet metal building construction to withstand the rigors of heavy use and increase the speed of construction. The TEK Screw is by far the easiest and fastest assembly method on the market today.  Watch our video on the Tek Screw vs. Nut & Bolt assembly to see just how easy it really is.

There are many stages between researching your new paint booth options and walking in your new booth to start painting. Our team is here to help you during each step. With over 20 years of experience, we’re experts in our field. We’ll help you find the right booth, customize it and get it setup to use! Let’s get started.
Paint Booths in the Twentieth Century

“You can have any color you want, as long as it’s black.” – Henry Ford

WARNING:  Your paint booth may not be as safe as you think!

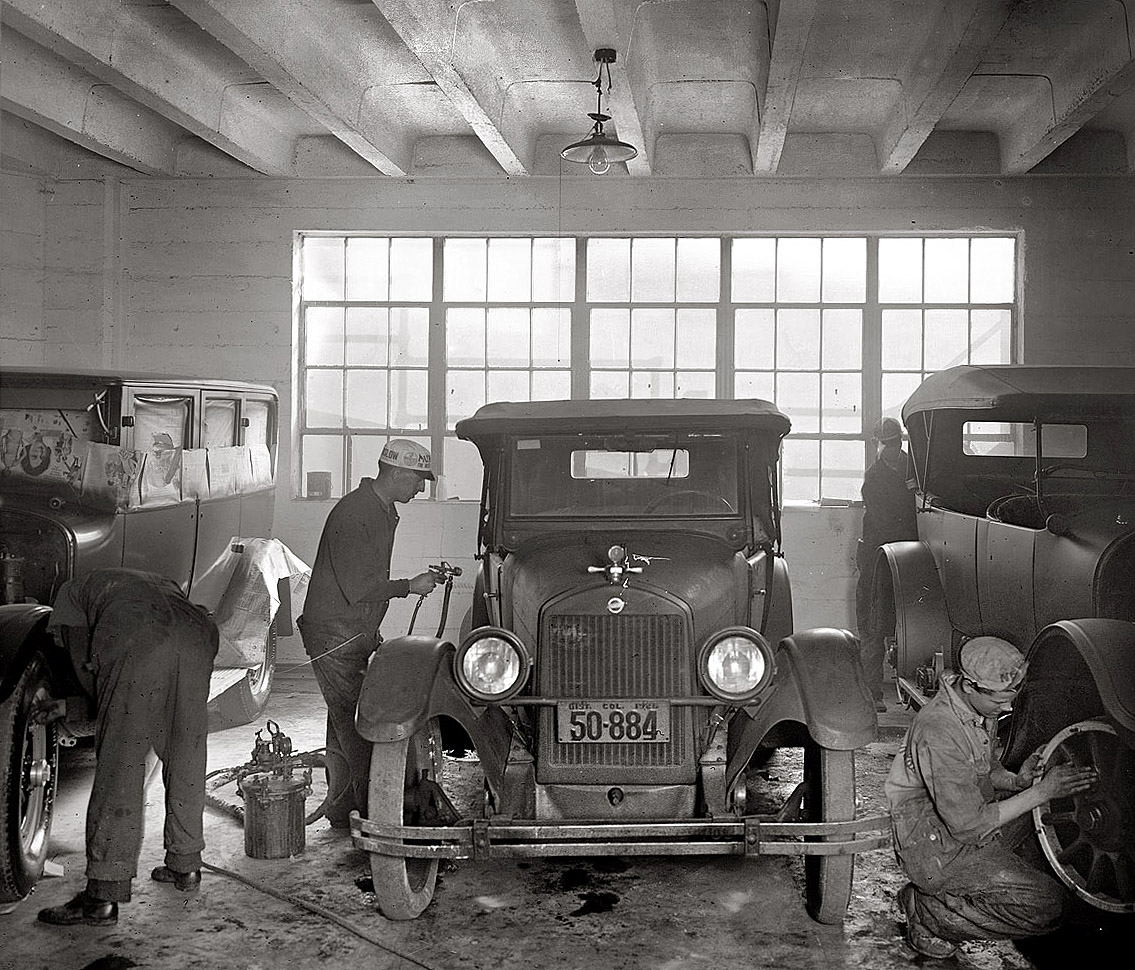
Have you ever wondered how they painted cars way back when? or if they painted cars? All cars seemed to be black, and I guess I never thought much about when people started painting their cars in body shops. So, I started my online quest to find something from the past in the car painting industry.  I found this old photo at www.shorpy.com and I think it’s super cool.

1926 paint booth

I love the cool old newspaper on the car’s windshield, a very economical way to paint! I couldn’t help but notice all the safety issues, or lack there of! No one is wearing a mask, the light hanging from the ceiling has a loose wire, there isn’t any ventilation and that huge oil puddle on the floor! Oh my! Back then there wasn’t an OSHA checking in on them or regulations to keep workers safe. If you didn’t want to die from paint fumes, you didn’t paint…

Do any of these practices sound familiar? There are still guys out there using Homemade Paint Booths and using their garage. Thank goodness that we have better, smarter and safer ways to paint today! Ask us how you can paint in one of our paint booths in just 7-10 days!

Monitor & protect your booth 24-hours a day

For anyone who has ever visited our blog, you have already seen a lot of posts about safety. It’s something we take very seriously in the business we’re in…. and we’re hoping you do too.

We KNOW just how dangerous mixing rooms and commercial paint spray booths can be! They comprise of highly flammable liquids, which creates an environment where fire is always a threat. Fumes accumulate, chemicals leak or spill…. if any ignition source is introduced it becomes a potentially devastating combination.

When a fire occurs, systems must be instantaneously shut off and alarms and other electrical devices must be activated in order to save as much property and lives as possible. This type of explosion doesn’t always happen during usage, when someone is there to shut it off manually. What would you do if this happened in the middle of the night? Would you find your shop burned to the ground in the morning?

That’s where a fire suppression system becomes an important component of a spray booth system. (In many cases, this type of system is mandated by local municipalities, and must be installed in your spray booth.)

Generally, a paint booth fire suppression system includes dry chemical tanks that are discharged when heat-sensitive fuses are broken. In the event if a fire, when any one of the fuses break, tensioned cables are released which punctures a C02 canister, thus releasing a chemical fire retardant through nozzles positioned throughout the paint booth and sometimes parts of the exhaust stack. A manual trigger, located at the personnel entrance to the spray booth, allows a user to trigger the system from outside the booth. Other electrical components of the spray booth system may be deactivated when the system is triggered, such as the fan or AMU. The best part, fire suppression systems monitors your paint booth 24-hours a day.

Get the Right Light In Your Booth

In the right light, at the right time, everything is extraordinary.  ~Aaron Rose

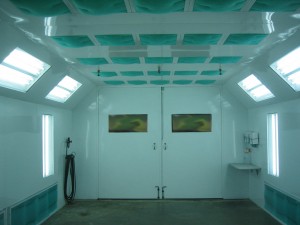
SDD WHITE INSIDEDon’t let insufficient lighting get in your way to creating the perfect paint job in your booth. We’ll make sure you have the correct lighting to create a shadow-free painting environment! Here’s how …

If you decide before you order your booth that you want more light than average, then your booth can be manufactured with the desired number of light fixtures. Our team at Standard Tools designs booths and mix rooms with sufficient lighting, but adding more lights is a simple modification.

If you decided you need more light and your booth already exists, try these methods:

  1. Change to a brighter bulb or one that contrasts to the materials being sprayed.
  2. Apply a layer of booth coat to the inside of the spray booth walls.   Different gloss levels are available and can be ordered from us.
  3. Add a light fixture.  The standard outside-access light must be at least 36” from a booth opening (door) and requires a light frame.  The inside-access lights can be placed anywhere and mount through a 15.5”x50.5” hole that can be cut into most panels. We can help you place an order for an extra light fixture.

Contact us with any questions or if you would like us to assist in getting you more light! 1-888-312-7488.

How to Build a Paint Booth

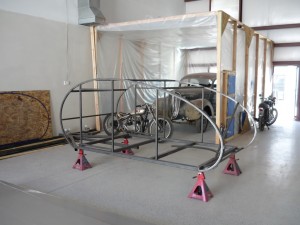
homemade boothFor around $200 in materials, anyone with some basic construction skills can create a paint booth. Isn’t that scary? There are hundreds of sites and discussion boards online giving tips on how to build a homemade paint booth, and no two are the same. When looking into building your own homemade paint booth, just whom are you getting advice from? Do they know anything about the proper flow, safety, and design of a paint booth or are they just really crafty?

There are really only two methods: one too common & one correct.

All too common:

DIYer heads to their local big-box store to buy supplies (plywood, 2x4s, nails, any type of light fixtures, two HVAC fans, HVAC filters and some vinyl sheet for ductwork.)  DIYer cleans out a corner in the shop or garage and builds a booth. No worries about airflow, adequate filtration, egress or other such nonsense.  It may require a couple of attempts to get this part of the project just right.  Once complete, DIYer brags to their buddies about how inexpensive this project really was.  Once painting starts, DIYer leaves a door cracked for ventilation, leaving a high potential for an explosion or a fire. Overspray coats the item (due to poor air flow), the items around the booth (due to poor containment) and the items outside the shop (due to poor filtration).  DIYer dials 911 when the paint-soaked plywood ignites.


Correctly Install a Paint BoothSDD WHITE INSIDE

Price comparisons often keep hobbyists from exploring other options and considerations. It is possible to buy a pre-engineered spray booth manufactured in a high-quality shop and based on a proven design.  The booth comes with detailed installation, operation and maintenance manuals as well as experienced professionals available to answer any concerns.  Contractors come on-site to complete the booth’s electrical, fire and ducting systems to ensure the highest safety.  Once a permit-of-occupancy is obtained from your local permitting authorities, you can enjoy the quality and productivity that your new spray booth provides for many years. [Plus, you can get extra work from the first guy after his fire.]

CONVERT YOUR SPRAY BOOTH TO A POWDER COAT BOOTH

DSC_0066Here’s the dilemma. You have a paint spray booth but the cost of painting is too expensive. Higher cost per square foot of coverage, higher labor costs and higher waste management costs.


Do you want to switch to the more cost-effective and durable powder coating finish? Why wouldn’t you? It’s easier to apply, applies in one coat and has a wider range of finishes. Problem is, booths should not be used for both finishes and you can’t afford a whole new booth specifically designed for powder coating.


Although a new powder coat booth is the ideal, we understand sometimes you’ve got to use what you have. Here’s how you can easily convert your spray booth into a powder coat booth.

·         Change your filter panels from dry arrestors to two-stage filters.

·         Add an after-box to provide third-stage filtration and allow recirculation of exhausted air into the shop.

·         Change out your painting equipment (HVLP or similar spray guns) with powder specialized spray equipment that charges the powder during the feeding process to enhance coating.

Lucky for you, Standard Tools has worked with numerous booth owners who have made this change, and we have done this process in our own shop! We can offer all the items you need to convert your current booth into a powder-coating booth…. filter grids, filters, after-filter box and spray equipment.


Not sure if you should use powder coat?  It doesn’t work with every finish or every product being coated, but it may be a good answer for your coating process.  Call us to discuss your conversion needs.  Our Sales team will gladly provide pricing so that you can compare a new powder coat booth with converting the existing spray booth.

Keep Your Paint Booth Safe: The Checklist

To keep your paint booth as safe as possible, there are some simple things you should do to maintain your booth and the safety of those who work in it. To make it easier to remember, try adding all of these items to your calendar based on how often it should occur.


  • Clean the booth! It’s no secret that to have a great paint job, you need to work in a clean booth!
    –  Sweep and/or mop the floors daily to keep dust off freshly painted surfaces.
    –  Clean the exhaust plenum by sweeping or vacuuming excessive material buildup.
    –  Sweep or vacuum the outside of the booth every year to remove dirt, dust and spider webs that can be sucked into the booth.


  • Clean Filters = Clean Air! Change exhaust filters when the manometer reads 0.5” above the initial differential reading. Note: Exhaust filters should be changed if the material about to be sprayed may react with the materials that have already been sprayed and still remain in the filter. Order your new filter kit now.

–  Change intake filters when they appear dirty or every 100 hours of booth usage.


  • Inspect elements of your booth. (You want to turn the power to your booth OFF first).

–  Every six months, you should check the fan belts for cracks and tension. Much like automotive belts, they can harden or glaze, and begin to slip.
–  Light fixtures should not have damaged glass or issues with the wire connections.
–  Ensure positive seals on doors, door latches, door hinges, floor sweeps and door gaskets every three months.
–  Check caulking between seams every three months and fill any gaps or cracks.
–  Inspect ductwork every three months for gaps or excessive buildup.


  • Maintain a tidy booth! It is critical that the area inside your booth, and the area surrounding your paint booth is as clean as possible. It needs to be free from excessive materials, especially flammable rags and paper products. It’s a good idea to have at least a 3′ perimeter around the booth in all directions that is clean and maintained.


  • Schedule semi-annual inspections on your fire suppression system by contacting your local fire suppression supplier.


  • Ongoing training for booth users about safety, cleanliness and incident management that includes fires, explosions, spills and fumes.


  • Maintain and replace spray equipment (guns, hoses, filters, dryers) and replace routinely.


  • Spray booths should contain no more than one shift of spray material and no materials that will react if mixed.


  • Mix rooms should contain less than 120 gallons of material.  Materials should be in covered containers.


  • Display signage near booth entrances that communicates no smoking, sparks or flames within 20-ft of the booth.


  • Contact the experienced team at Standard Tools and Equipment for more helpful tips and information about equipment involved in the finishing process. 1-888-312-7488.


Paint Booths in Military Aviation

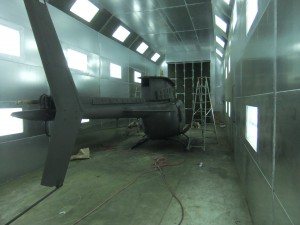
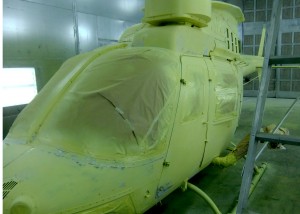
Helicopter in Paint Booth

Did you know that Standard Tools and Equipment Co has been the paint booth suppler for several military operations?

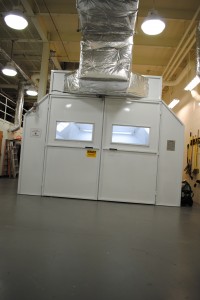
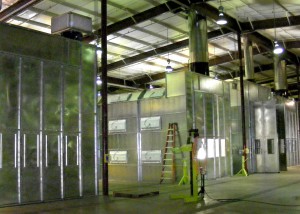
I know what you might be thinking, “What would the military do with a paint booth?” Well, we supply very large paint booths for camouflage spray applications on helicopters, Humvees and other equipment. Now you’re thinking, “Ahhhh….”.

With so many paint booth manufacturers based outside the USA, we are proud to be in North Carolina!  It is truly an honor to be trusted to provide top-notch equipment to support our nation’s mission overseas.  We have booths on military bases all over the country and the world.

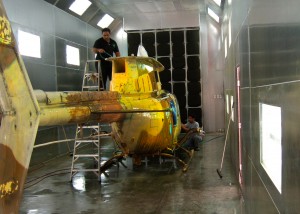
Enjoy these photos from an undisclosed location! How cool are these behind-the-scenes shots?!

Large Equipment Paint spray Booths

Desert Camo in Process

Helicopter Prepped for Painting

Helicopter paint booth prep

Sign up to our newsletter & Receive Savings In Your Inbox

Sign Up

Copyright © 2025 Standard Tools and Equipment Co.. | Ecommerce Shopping Cart Software by Miva, Inc.